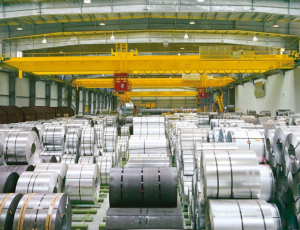
Overhead crane in rolled steel mill
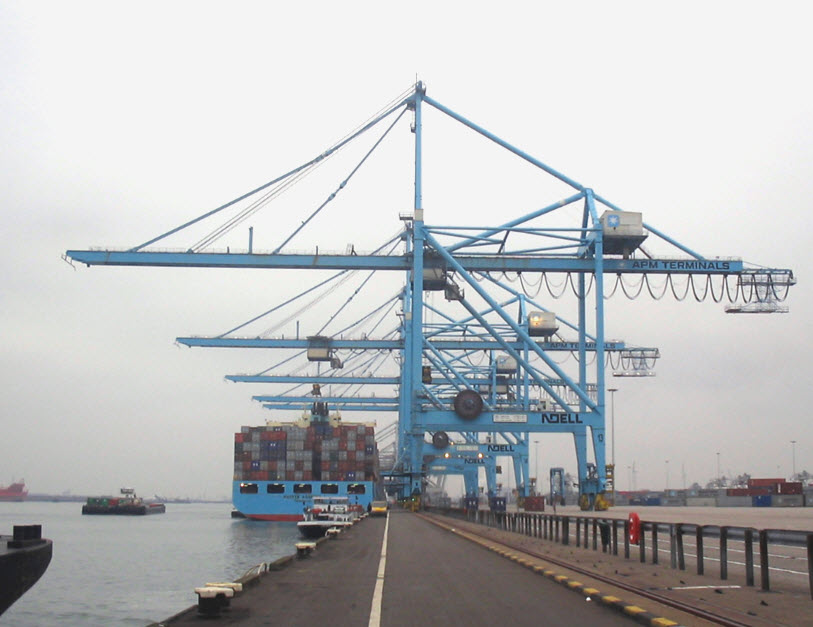
We seldom think of overhead or gantry cranes when we think of critical components. However, in many industries the crane is an intrinsic part of the process. If a crane is out of commission, the entire process is in jeopardy and can be forced to shut down. Many issues can be avoided with regular inspections. With advanced 3D metrology solutions, inspection and alignment of crane components is much faster and more reliable and traceable than other methods.
Two sets of rails generally make up an overhead crane. The trolley ways, which are within the structure, and the longitudinal rails, also known as the crane runway. The longitudinal rails are often mounted on an independent steel structure and attached to the surrounding building or machinery. Factors that can cause the steel structures to shift out of alignment include building movement, equipment crashes, excessive vibration and wear and tear over time.
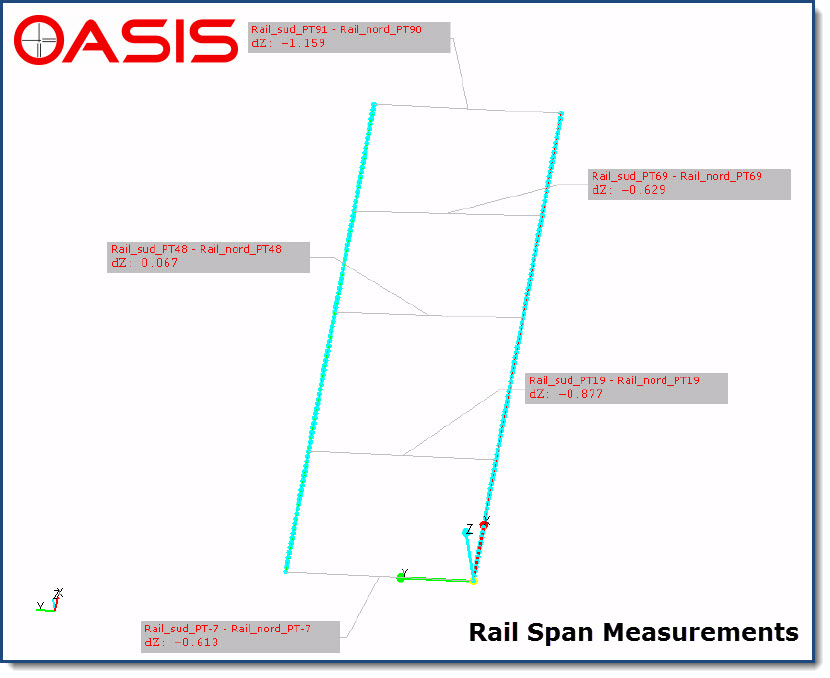
It is important to inspect the rails for alignment, span tolerances, rail elevation to elevation, and straightness. Additionally it is also important to regularly inspect rail and component wear and other physical criteria of the rails and fixtures.
Using innovative and portable 3D metrology solutions such as a laser tracker and adapted retroreflector target, a 3D metrology engineer can gather data at every critical point of the rails – typically each tie down point or each support column. The 3D data is recorded using specialized metrology software with a global reference system and analyzed to create a report of the alignment conditions. 
Laser trackers have the ability to capture complex measurement data over large volumes and in challenging environments. These capabilities combined with sophisticated 3D metrology software, make laser trackers ideal for inspecting crane rails.
For more information on 3D metrology solutions or for a site visit by an OASIS representative, please contact the OASIS Service Center nearest you.

