Though more traditional alignment tools and methodologies are still often the choice for alignment inspections in many areas of a paper machine, in some sections of a paper machine, newer innovative measurement tools and methods are much faster and more efficient.

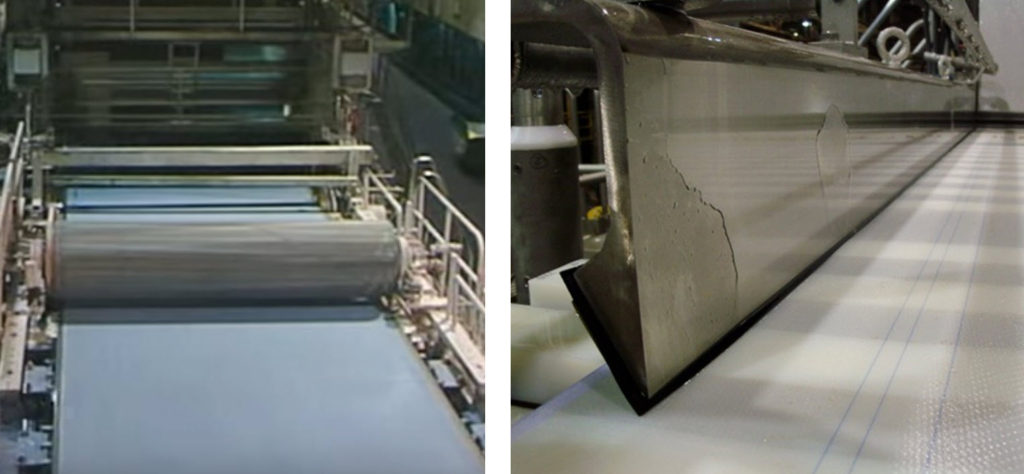
Dandy rolls and deckle boards typically must be removed when using traditional alignment methods for Fourdrinier inspection.
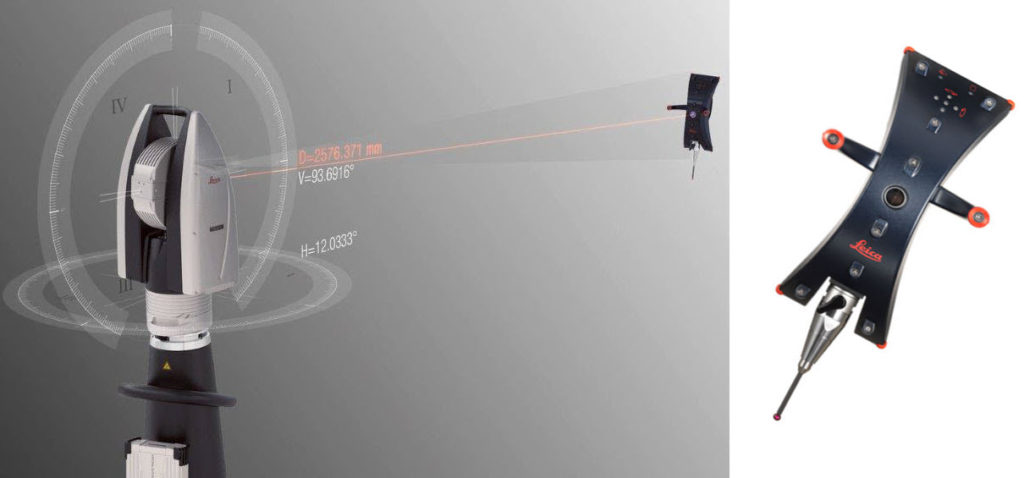
The Fourdrinier is one area of the paper machine where paper makers can benefit from the use of newer alignment technology. With portable Leica AT960 laser trackers with Leica T-Probes, metrology engineers can very quickly gather measurement data without many of the obstacles involved when using traditional methods.
When using conventional equipment alignment methods such as optical tooling, one of the biggest difficulties when inspecting the Fourdrinier, is establishing line-of-sight due to components such as deckle boards, dandy rolls, and steam chests. The optical engineer is required to establish the line-of-sight low enough below the steam chest, dandy roll or bell bond, yet high enough to read over the deckle board. What is required is the removal of the components that are obstructing the ability to create a common plane between the top tangent of the breast roll to the top tangent of the couch roll and everything in between. This removal of components before the inspection and the subsequent replacement of the components after the inspection, adds to the machine downtime.
With the capabilities of the new Leica AT960 laser tracker paired with the Leica T-Probe, many of the issues involved with Fourdrinier alignment inspections, have been reduced or even removed. T-Probes are hand held devices with 6DoF (Six Degrees of Freedom) capabilities that allow metrology engineers to collect measurement data from points in hidden or hard to reach places with minimal set-up times. Using the T-Probe, measurement data can be gathered by reaching over the deckle boards and under the overhead components, thus eradicating the effort of having to remove these components before inspection.

With a number of probes and styli available, as well as extensions of varying lengths, the T-Probe provides dimensional measurement capabilities in hidden or hard to reach places.
Additionally, when setting up the common plane for the table, with the T-Probe, reading the drive side of the breast roll is much easier and a great deal faster with fewer set ups. Using the AT960 and T-Probe also allows for fast geometric inspection from the apron lip to the foil boxes in addition to elevation and the common plane.
Another benefit to using laser tracker technology during Fourdrinier alignment is the ability for mechanics to actually see the digital readout and track how adjustments are affecting the alignment of table components directly on the computer screen in real-time. As components (foils, foil boxes, vacuum boxes) are moved, the laser tracker “tracks” the movement of the target within 0.001”. This saves a great deal of time over the traditional method of a mechanics “thumbs-up” or “thumbs-down” approach as a component is adjusted.
It is no secret that extended downtime is the enemy of many in the paper making industry. Hiring alignment engineers using the most innovative tools and methods for inspecting your equipment will help to reduce this downtime through increased efficiency during the alignment project and by improving overall machine operating efficiency after the project is complete.
Check out Paper Machine Applications Where Laser Trackers Excel for information on how OASIS uses laser trackers for inspecting additional areas of a paper machine. Please contact us for more information or if you would like to schedule a site visit by an OASIS representative. Be sure to subscribe to our OASIS Industry Blog for regular updates on precision measurement tools and technologies, industry knowledge, case studies and more.


Thank you for the Information.