One of the most common tasks involving machinery alignment is locating machine components during installation. The erection process of a large or complex machine can be a daunting task. In some cases, the process involves thousands of components that fit perfectly together on the design engineer’s CAD software, but in reality are subject to real world conditions on the shop floor.
It is critical to establish proper alignment foundations in order to succeed throughout the remainder of the project. Properly levelled and positioned sole plates, an elevation benchmark, a reliable centerline, an offset baseline, and cross-machine reference points are dimensional metrology features that will ensure that a project’s alignment is successful from beginning to end. Many times, inadequate alignment preparation leads to project overruns caused by failures to fit and resulting reworks. On a more serious note, situations with inadequate references can lead to improper alignment of a machine line and cause severe production issues.
The ability to prepare parts for assembly ahead of time is a huge time-saver. However, machine manufacturers and mechanical contractors have traditionally shied away from this due to the numerous variables at assembly time. More often than not, sole plates and other machine components are field-drilled and tapped only after the machine has initially been positioned and pre-aligned. This practice is very inefficient and rather unsafe.
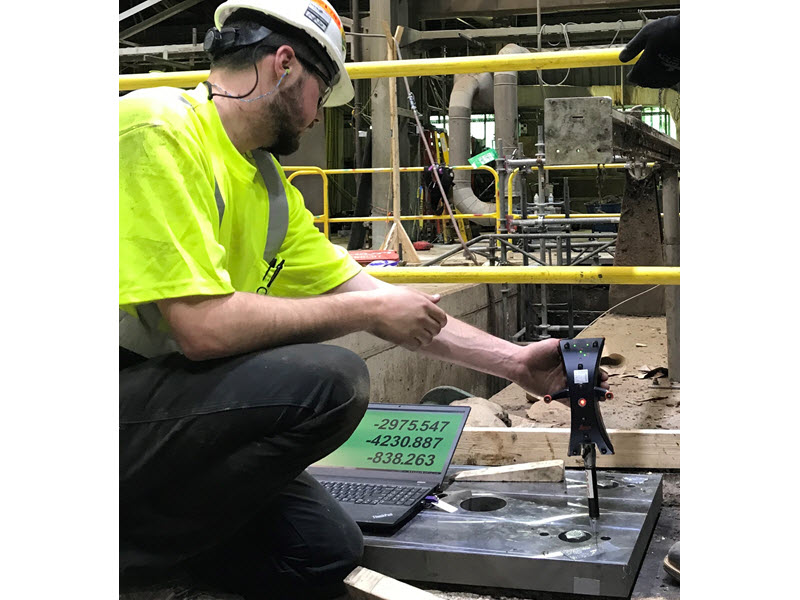
With the advent of more sophisticated 3D measurement systems such as the laser tracker, engineers and technicians can now locate exactly, and with confidence, the position of holes to be drilled and tapped, anchors to be positioned, structural components to be welded, and various features to be positioned without using cumbersome templates, or pre-positioning very heavy and difficult to maneuver parts. Bolts, holes, and anchors – whether alone or in patterns – can very quickly be located and marked by a single person after being laid out in a CAD model of the assembly.
Using sophisticated dimensional metrology methods and instruments, machines can be located precisely and reliably on the shop floor. Whether a machine is being erected from scratch or a section of an existing machine is being rebuilt, the benefits of properly planning where all of the components will be situated and properly executing the work are critical to a successful project.

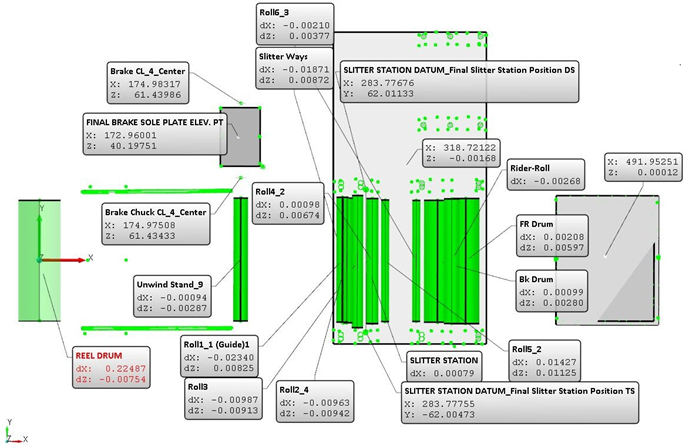
Global layout and alignment of soleplates and machine components analysis using advanced 3D metrology software

